

by Jean-Pierre Lapointe & Denis Vallée, Technologies Optim
Inc.
(c) Copyright 1998, Technologies Optim Inc.
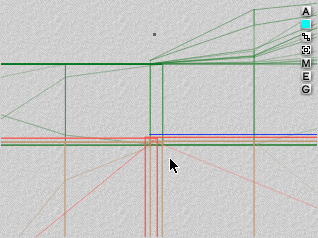
Click the “Palette Toggle” button, then select the “River Bed” family in the family selection pop-up menu.
Cut and paste the selection, and associate to it a new family coloured in cyan and named “Water”.
With the “From Right” camera view, raise slightly the new water objects so that they lie between the river bed and the water plane (along the Y axis).
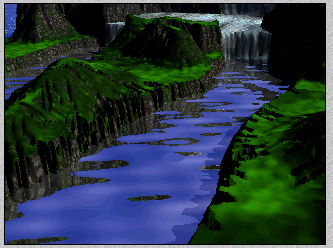
In the “Tutorial” textures, import Waterfall.mat and apply it to the water objects. Click the checkmark. You should get a result like the following one when rendering.

We suggest to give your scene some more depth. To do this, in the “Edit” menu, “Select All”, group all items, and resize whole scene up (along the Y axis). After resizing the scene, you may ungroup the objects, keeping them grouped as before this step.

Note: After resizing the scene, the water plane may have been moved relatively to the rest of the scene. In this case, just select it and put it back to its place.
Save your project!